Adding a child
Use the two-step add-child flow to record a child and connect their family.
Adding a child takes two short steps: first the child's own details, then the people connected to them. Meadow walks you through both in a single panel, so by the time you're done the child has a profile and their family is ready to be invited.
Who can add a child
Owners, Managers and Senior Practitioners can add children. Practitioners, parents and family don't see the Add Child button.
Open the add-child flow
Open Children from the menu on the left, then choose Add Child in the top-right of the list. A panel slides in from the right titled Add a child, with two steps.
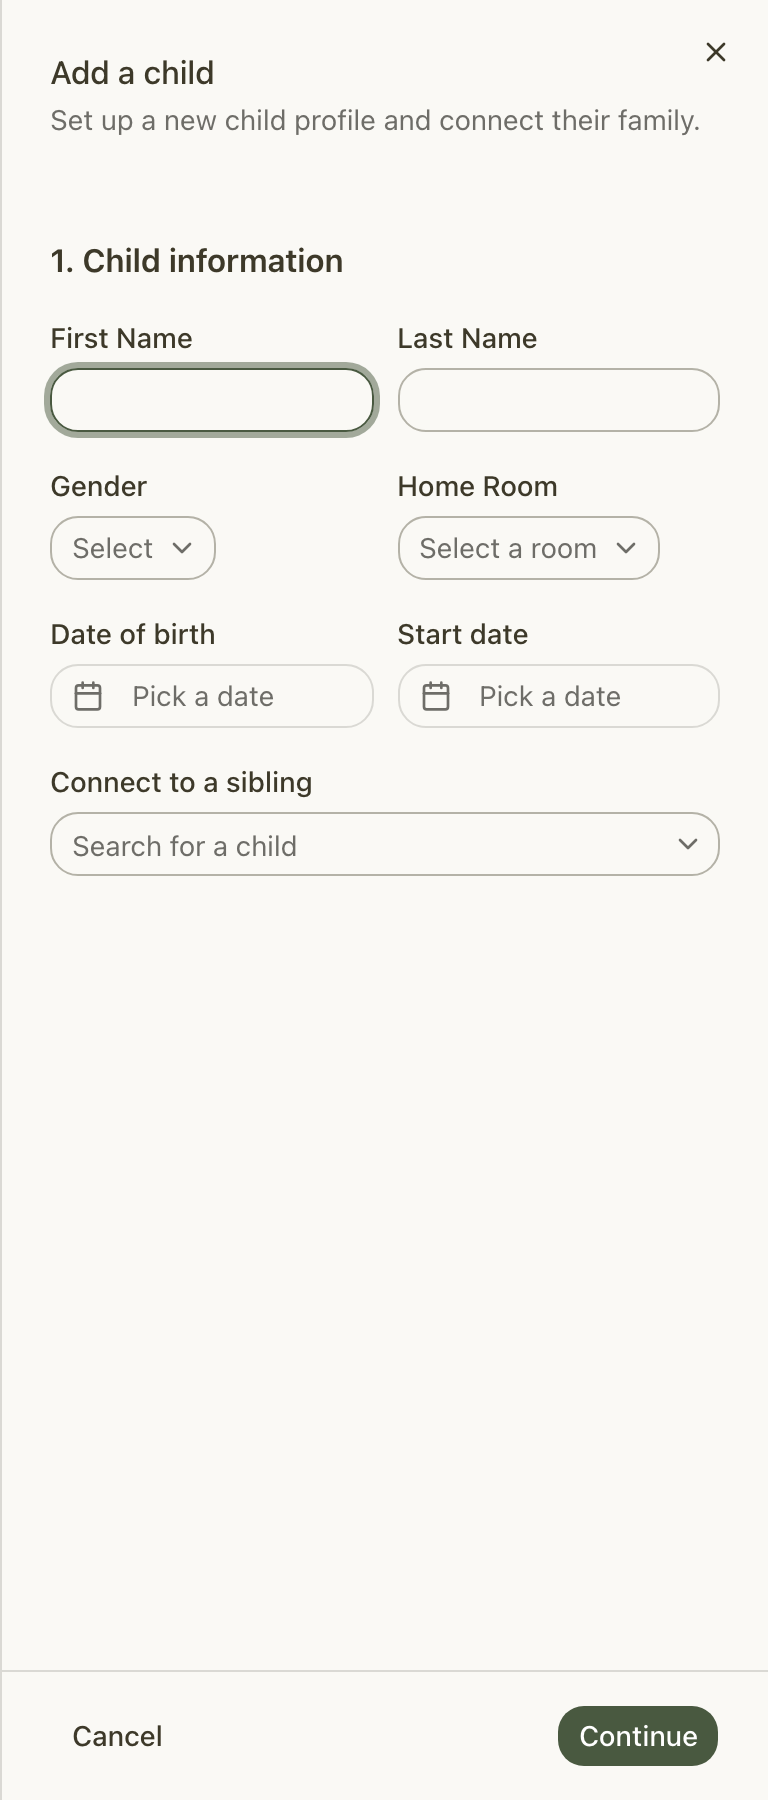
Step 1 — Child information
Fill in the child's basic details. Everything here is required before you can continue.
- Enter the First Name and Last Name.
- Choose a Gender — Boy or Girl.
- Pick a Home Room — the room the child is based in. You'll see your active rooms in the list.
- Set the Date of birth. This can't be a future date.
- Set the Start date. A date in the future puts the child on the Waitlist; a date of today or in the past makes them Active straight away.
- Choose Continue to move on.
Connecting a sibling
If a brother or sister is already in Meadow, search Connect to a sibling and pick them. This links the two children and, in the next step, lets you copy that sibling's contacts across — so you don't re-type shared family details.
Tip: Sibling search only finds children who are currently active. If you can't see the sibling, check they aren't on the waitlist or recorded as departed.
Step 2 — Finish setting up contacts
Now add the people connected to the child — parents, family and anyone who can collect them. The list starts empty (unless you copied contacts from a sibling), so choose Add another contact to add the first row.
If you linked a sibling, you'll see a Shared contacts from sibling list with their contacts pre-ticked. Untick anyone you don't want to copy.
For each contact:
- Contact's first name and Contact's last name — both required.
- Relation to child — optional free text, such as "Mum" or "Grandad".
- Invite as — choose Don't invite, Parent or Family. This decides whether the person is emailed an invitation to follow the child. You can always invite them later.
- E-mail and Phone number — you need at least one. If you're inviting the contact as a Parent or Family, an email address is required.
- Emergency contact — toggle this on if the person should be called in an emergency.
You can add up to ten contacts.
Note: The first contact in the list becomes the child's primary contact. Contacts copied from a sibling are never set as primary, so add at least one contact of your own.
Saving
When you're ready, choose Save. If any contact is set to Parent or Family and has an email, the button reads Save and invite instead, and Meadow sends their invitations as the child is created.
You'll see Child added successfully, and the panel closes. If an invitation couldn't be sent, the child is still created and you'll get a warning telling you why.
For more on contact types and what each can do, see Contacts and relationships. To send or re-send invitations later, see Inviting parents and family.
What's added later
The add-child flow keeps things to the essentials. Funding (ECCE and NCS), health details, the child's address and other profile information are added afterwards, on the child's profile — not here.
Common questions
Which roles can add a child? Owners, Managers and Senior Practitioners. Practitioners, parents and family don't see the Add Child button.
Can I add a child without a date of birth, gender or room? No. First Name, Last Name, Gender, Home Room, Date of birth and Start date are all required to get past step 1. The date of birth can't be a future date. Some of these can be changed later on the profile, but the add flow needs them up front.
How many contacts can I add? Up to ten in the add-child flow, including any copied from a linked sibling. You can add more later from the child's Family tab.
Troubleshooting
I picked "Parent" or "Family" under Invite as but can't save. An email address is needed to send an invitation. Add an E-mail for that contact, or switch Invite as back to Don't invite and invite them later. The message you'll see is "Email is required to send an invitation".
A contact row shows an error about email or phone. Every contact needs at least one of E-mail or Phone number. Add one of them. The message is "At least one of email or phone is required".
"This email is already used on another contact." You've entered the same email on two contact rows in the same flow. Each contact needs a unique email — change or remove the duplicate.
I invited a contact but got a warning. The child is still created even when an invitation can't be sent. The usual reasons are that the person is already a member of your school, has already been invited, or already has a login. You can re-invite them later from the child's Family tab.